 how-to
7 Ways to Avoid Surprise Repair Costs at Home
Last Updated: October 28, 2026
Quick Summary
You can avoid most surprise repair costs by running a seasonal maintenance checklist, inspecting key systems on a set schedule, and keeping a dedicated repair fund sized to your home. Get written estimates and approve any extra work in writing before it starts.
- Tie each maintenance task to a trigger, such as after every major storm or after every professional inspection.
- Set aside 1% to 3% of your home's value each year for maintenance and repairs.
- Keep your repair fund in a separate high-yield savings account and automate the monthly transfer.
- Always get a written contractor estimate that includes what happens if extra damage is found.
- Ask each contractor to pause and explain in writing before any additional work begins.
Table of Contents
- Why Surprise Repair Costs Happen and What They Usually Cost
- Step 1: Build a Preventive Maintenance Checklist You Will Actually Follow
- Step 2: Inspect Key Systems on a Set Schedule
- Step 3: Set Up a Repair Fund Sized to Your Home
- Step 4: Get a Written Contractor Repair Estimate Before Work Starts
- Step 5: Ask the Right Questions Before You Hire Anyone
- Step 6: Handle Extra Damage Found Mid-Job Without Blank-Check Approvals
- Booking Your First Upfront Inspection With C & C Environmental Services
- Frequently Asked Questions
Why Surprise Repair Costs Happen and What They Usually Cost
Surprise repair costs usually come from small problems that were ignored until they became large ones. A slow drip under a sink turns into rotted subfloor. A clogged line backs up into a yard.
Most of these costs share a few causes. Neglecting the early signs of moisture near heating systems often leads to systemic failures that make it difficult to avoid hidden repair costs when specialized components eventually seize.
Here is the key idea: you can not stop every repair. Planning ahead lets you choose when and how a repair happens, instead of reacting in a panic. The rest of this guide shows you how.
Step 1: Build a Preventive Maintenance Checklist You Will Actually Follow
A preventive maintenance checklist is a short list of tasks you do on a regular schedule. Keep it simple. A long list that nobody finishes does more harm than good. The fix is to tie every task to a month and a trigger, so the list runs itself instead of depending on memory.
The seasonal maintenance calendar
Use this as a starting template. Adjust for your climate, freeze-prone areas need more winter attention, and humid areas need more moisture control.
January-February (winter)
- Check for ice dams and roof leaks after snow or freezing rain.
- Test smoke and carbon monoxide detectors; replace batteries.
- Inspect under sinks and around the water heater for leaks.
- Check caulk and weatherstripping around windows and doors.
March-April (spring)
- Clear gutters and downspouts after the last freeze.
- Check exterior grading so soil slopes away from the foundation.
- Inspect the roof for lifted or missing shingles.
- Schedule an HVAC tune-up before cooling season.
- Test the sump pump by pouring water into the pit.
May-June (early summer)
- Check outdoor drains and cleanouts before storm season.
- Inspect the deck for loose boards and rot.
- Look for signs of pests, droppings, gnaw marks, mud tubes.
- Flush the water heater to remove sediment.
July-August (mid-summer)
- Watch for slow drains or gurgling in multiple fixtures; call a pro if several back up at once.
- Check the attic for moisture, mold, or daylight through the roof.
- Clean dryer vents and check the lint trap line.
September-October (fall)
- Clear gutters again after leaf drop.
- Drain and store outdoor hoses; shut off exterior faucets in freeze zones.
- Schedule a heating system tune-up.
- Check the chimney and fireplace if you use them.
- Seal gaps around pipes and wiring where they enter the home.
November-December (early winter)
- Insulate exposed pipes in unheated spaces.
- Check the roof and attic after the first hard freeze.
- Review your repair fund balance and reset contributions for the new year.
Tie each task to a trigger, not just a date
Dates slip. Triggers do not. Pair every calendar task with an event:
- After every major storm: walk the property and check for water stains, cracks, and soft spots.
- Before every season change: check caulk, weatherstripping, and exterior seals.
- After every professional inspection: add any flagged item to the calendar with a deadline.
What each task is actually preventing
A checklist only works if you know why each item matters. Most of these tasks are cheap now and expensive later:
- Gutters: clogged gutters can overflow and soak the soil next to the foundation.
- Grading: soil that slopes toward the house pushes water into the basement or crawl space.
- Caulk and weatherstripping: failed seals let water in and let conditioned air out, raising both repair risk and energy bills.
- Water heater flush: sediment shortens tank life and can trigger an early replacement.
- Sump pump test: a failed pump during a storm means a flooded basement.
Watch out: Clogged gutters can overflow and soak the soil right next to your home. For more seasonal tips, see our fall plumbing maintenance tips to protect your sewer system. If you cannot safely get on a ladder, consider hiring a cleaning service.
The seasonal calendar below groups the checklist tasks by time of year so you can see what to do when.
| Period | Key tasks | Why it matters |
|---|---|---|
| January-February | Check for ice dams and roof leaks; inspect under sinks and water heater | Catches leaks and freeze damage early |
| March-April | Clear gutters; check grading; test sump pump | Keeps water away from the foundation |
| May-June | Check outdoor drains; flush water heater | Prepares for storm season and removes sediment |
| July-August | Watch for slow drains; check attic for moisture | Spots backups and moisture before they spread |
| September-October | Clear gutters after leaf drop; schedule heating tune-up | Prepares the home for winter |
| November-December | Insulate exposed pipes; review repair fund | Prevents frozen pipes and resets savings |
Step 2: Inspect Key Systems on a Set Schedule
Regular inspections catch problems while they are still cheap to fix. Walk your property once a month and once after every major storm. Look for water stains, cracks, soft spots, and unusual smells.
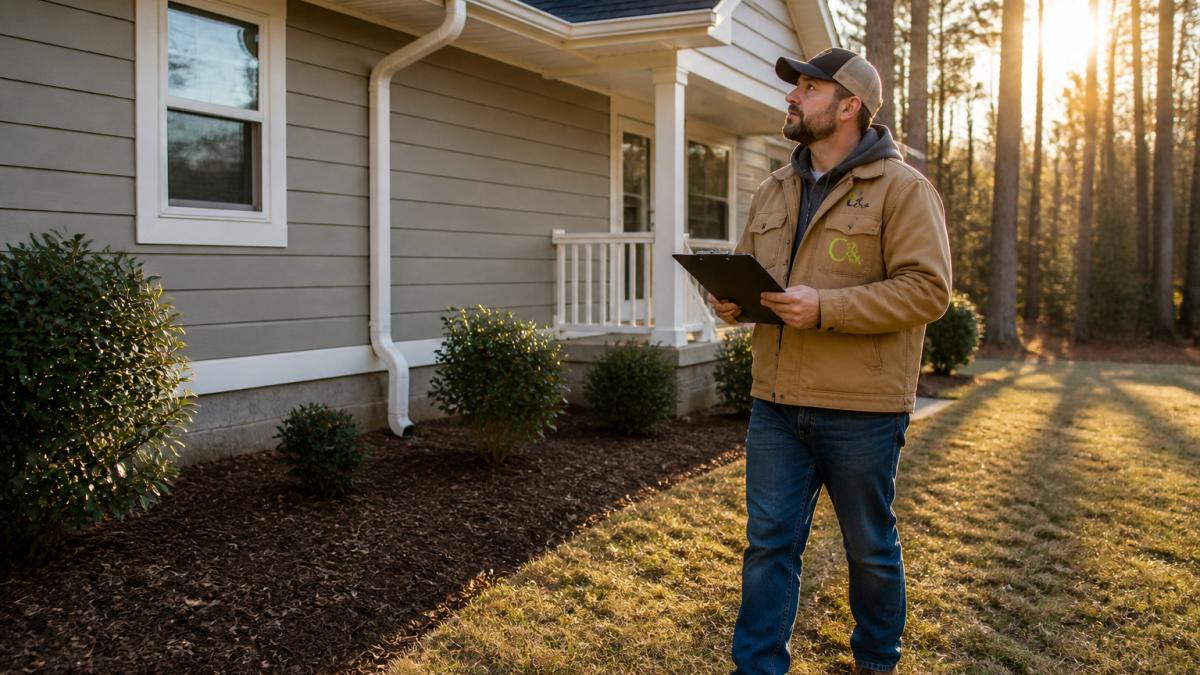
Storm season deserves extra attention. Our storm season sewer tips explain how to protect your wastewater system before, during, and after heavy rain.
For sewer and drain concerns, a camera inspection can show the inside of a pipe. See what a jetting inspection actually uncovers before you commit to any repair work. Drain Cleaning services can also address drain problems.
Step 3: Set Up a Repair Fund Sized to Your Home
A repair fund is money you set aside only for home repairs. It keeps a surprise bill from turning into credit card debt or a missed mortgage payment. The problem with most advice is that it stops at "save 1% of your home's value" and never tells you how to adjust that number as your home ages or as inspections turn up problems.
Use a repeatable method instead of a single percentage. The goal is a fund that grows as your home's risk grows.
Start with a baseline contribution
A common starting point among financial planners is to set aside 1% to 3% of your home's value each year for maintenance and repairs. On a $350,000 home, that is $3,500 to $10,500 per year, or roughly $292 to $875 per month. Newer homes tend to sit at the low end; older homes at the high end. Treat this as a starting line, not a finish line.
Adjust for home age and condition
Age is the single biggest driver of repair cost. A common pattern is to raise your annual contribution as major systems approach the end of their expected service life:
- Sewer line: clay and cast-iron lines can last 50 years or more but fail suddenly. Camera inspection findings should directly raise your reserve if the line shows roots, cracks, or bellies.
Let inspection findings reset the number
After any professional inspection, roof, sewer camera, foundation, electrical panel, write down the findings and the estimated repair cost. Add the total of any "monitor" or "repair soon" items to your fund target. Then divide that target by the number of months until you expect to act. This turns a vague worry into a monthly number you can actually save.
Keep the money separate and boring
Put the fund in a separate high-yield savings account at a different institution from your checking account. Automate the transfer on payday. The point is friction: money you do not see is money you do not spend. Do not invest the fund in stocks or anything that can lose value, this is an emergency reserve, not a portfolio.
Know where insurance and warranties stop
Insurance and warranties help, but they have limits. Read your policy before you assume a repair is covered, and keep receipts for every service call.
Watch out: A fund that never gets adjusted is a false comfort. Revisit the number once a year and after every inspection. If you have not raised it in three years, you are probably under-saving.
Step 4: Get a Written Contractor Repair Estimate Before Work Starts
A contractor repair estimate is a written document that lists the work, the materials, and the total price. Always ask for one before any work begins.
A good written estimate includes:
- A clear description of the problem and the proposed fix
- An itemized list of labor and materials
- The total price, with taxes and fees
- A start date and expected completion date
- What happens if extra damage is found
The last item matters most. Ask the contractor how they handle extra work. If the answer is vague, get clarity before you sign anything.
Compare at least two estimates when the job is large. Do not pick the lowest number automatically. Look at what each estimate includes and what it leaves out.
Step 5: Ask the Right Questions Before You Hire Anyone
Good questions protect you from surprise bills. Ask them before you agree to any work.
Here are questions worth asking every contractor:
- Will you do a full inspection before giving a price?
- Is your estimate final, or can the price change?
- How do you handle problems you find during the job?
- Do you carry liability insurance and workers' compensation?
- Can I see references from recent customers in my area?
- What is your warranty, and what does it cover?
- Who do I call if the problem comes back?
Pay attention to how the contractor answers. Clear, direct answers are a good sign. Pressure to decide quickly is a warning sign.
Watch out: Be wary of any contractor who finds "extra issues" right after starting. Ask them to stop and explain in writing before any additional work begins.
Step 6: Handle Extra Damage Found Mid-Job Without Blank-Check Approvals
Sometimes a job uncovers more damage. This is normal, but you should never approve open-ended work without knowing the cost.
When new problems appear, follow these steps:
- Ask the contractor to pause the work.
- Request a written description of the new problem.
- Get a separate written estimate for the added work.
- Approve each change in writing before the work continues.
- Ask for photos of the damage for your records.
This approach keeps you in control. You decide what to fix now and what to schedule later. It also protects the contractor, because both sides agree on the scope in writing.
Booking Your First Upfront Inspection With C & C Environmental Services
At C & C Environmental Services, we provide upfront, honest estimates with no surprise pricing. We use camera inspections and full diagnostics.
You can learn more about our services.
Our work is backed 100% by our company, and we are a family-owned business with over 20 years of experience. Contact us today.
Frequently Asked Questions
How much should I set aside for unexpected repairs?
Keep money for repairs in a dedicated fund, separate from your everyday checking account. Review the balance once a year against your actual spending and adjust it as your home ages.
How do I avoid unexpected charges from a contractor?
Ask for a written repair estimate and confirm whether it is a fixed price or a time-and-materials quote. Ask how extra work and changes to the estimate will be handled.
Should I get multiple estimates before starting repair work?
Compare the scope of written estimates, not just the total. If an estimate is far below others, ask what is excluded.
What should I do if a contractor finds additional damage?
Ask the contractor to explain the new condition and provide a revised estimate showing the added cost and the reason for it. Ask whether the new problem is related to the original repair or an independent issue.